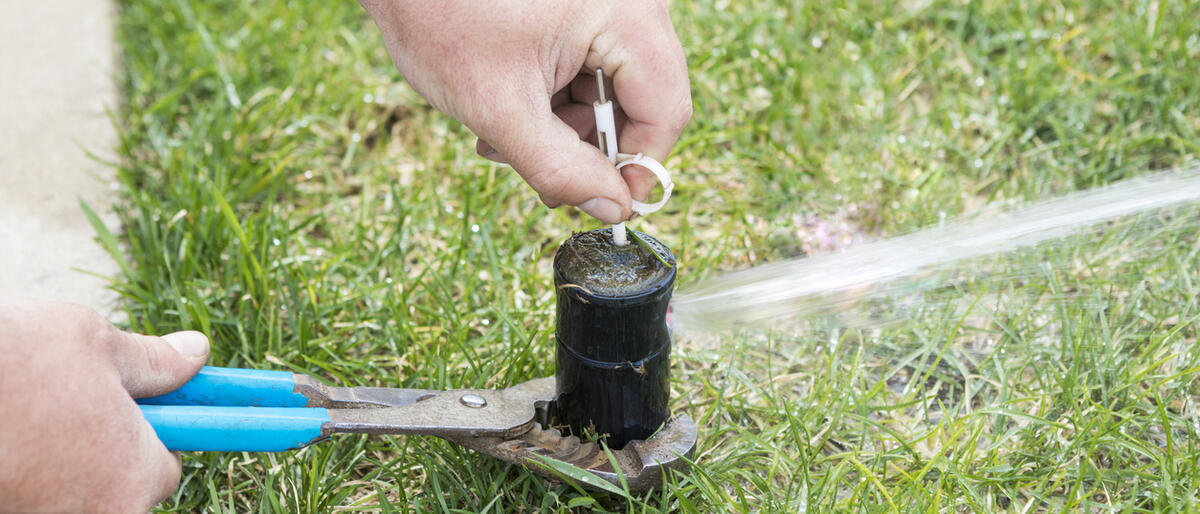
As fall approaches, many homeowners and property managers turn their attention to preparing their landscapes for the cold months ahead. One crucial yet often overlooked aspect of winter preparation is the proper winterization of your irrigation system. Neglecting this important step can lead to costly damage and repairs when spring arrives. We'll explore the significance of winterizing your irrigation system, step-by-step guidelines to do it effectively, and answer any questions you may have along the way.
What is Winterizing Your Irrigation System?
Many homeowners think it's simply turning off the water; however, winterizing your irrigation system involves a series of procedures designed to protect it from freezing temperatures. When water inside the pipes freezes, it expands, causing cracks, leaks, and even ruptures in the system. By taking the time to winterize your irrigation system, you can prevent these issues and ensure it functions correctly when the growing season returns.
Why Is Winterizing Important?
a. Prevent Costly Repairs:
- Freezing temperatures can cause pipes to burst, leading to expensive repairs.
- Damaged components, like valves and sprinkler heads, can also result in costly replacements.
b. Preserve Efficiency:
- A properly winterized system ensures optimal performance when you need it.
c. Protect the Environment:
- Preventing leaks and water waste during winter contributes to conservation efforts.
When Should You Winterize Your Irrigation System?
Timing is crucial when it comes to winterizing your irrigation system. Ideally, you should schedule this task before the first freeze. Depending on your location, this could be in late fall or early winter. Waiting until the last minute risks damage to your system.
How To Winterize Your Irrigation System?
a. Turn Off the Water Supply:
- Locate the main shut-off valve for your irrigation system.
- Turn off the water supply to the system. This prevents water from flowing into the pipes.
b. Drain the System:
- Open all drain valves and drain plugs.
- Allow the water to flow out of the system completely.
c. Remove Water from Pipes:
- Use low-pressure compressed air to blow out any remaining water in the pipes.
- Start at the farthest point from the main valve and work your way back.
d. Protect Vulnerable Components:
- Remove and store above-ground components such as spigot-connected controllers, rain sensor if it contains a cork, solar panels for controllers, and any other accessories that could potentially crack/break from freezing temps to increase the longevity of these items.
- Insulate exposed pipes or wrap them with heating cables.
e. Consult a Professional:
- If you're unsure about any step or have a complex irrigation system, consider hiring a professional to assist you. We often see breaks come spring, often resulting in leaks and dying plants. When in doubt hire a professional as it's often not worth the risk of the damages doing a shutdown improperly may cause.
Winterizing your irrigation system may seem like an extra chore, but it's a crucial step in preserving your landscape and saving you money in the long run. By following these steps and taking preventive measures, you can ensure your irrigation system remains in top condition and ready to nourish your landscape when the warmer months return. Don't wait until it's too late – start your winterization process today to protect your landscape investment.
“An ounce of prevention is worth a pound of cure.”
Contact Us For A Free Estimate For Your Irrigation Winterization. Call us at 503-669-0606 or click the link below to fill out our contact form and we'll get in touch.
Erica Mooney

Erica is an avid lover of the outdoors, and transformed that love into a partnership running Valley West with Ryan 2012.


